
Gerrard's Fun Trigger Stacking (Competitiveish)
Commander / EDH Aristocrats Artifact Combo Eggs Infinite Combo RW (Boros) Sacrifice Value Engine
Land (27)
- 1x Alpine Meadow
- 1x Ancient Den
- 1x Ancient Tomb
- 1x Arid Mesa
- 1x Battlefield Forge
- 1x Bloodstained Mire
- 1x Buried Ruin
- 1x Clifftop Retreat
- 1x Command Tower
- 1x Flooded Strand
- 1x Great Furnace
- 1x High Market
- 1x Inventors' Fair
- 1x Marsh Flats
- 2x Mountain
- 5x Plains
- 1x Prismatic Vista
- 1x Reflecting Pool
- 1x Sacred Foundry
- 1x Spire of Industry
- 1x Windswept Heath
- 1x Wooded Foothills
Tutor (7)
- 1x Academy Rector
- 1x Enlightened Tutor
- 1x Gamble
- 1x Goblin Engineer
- 1x Goblin Matron
- 1x Imperial Recruiter
- 1x Recruiter of the Guard
Card Draw (3)
Slow them down (3)
Draw Eggs (12)
- 1x Chromatic Sphere
- 1x Chromatic Star
- 1x Conjurer's Bauble
- 1x Elsewhere Flask
- 1x Golden Egg
- 1x Guild Globe
- 1x Implement of Combustion
- 1x Implement of Improvement
- 1x Pyrite Spellbomb
- 1x Soul-Guide Lantern
- 1x Terrarion
- 1x Wall of Omens
Combo Pieces (7)
- 1x Cloudshift
- 1x Flameshadow Conjuring
- 1x Living Lightning
-
1x
Loyal Retainers

- 1x Mogg Fanatic
- 1x Nim Deathmantle
- 1x Salvager of Ruin
Removal (7)
- 1x Duergar Hedge-Mage
- 1x Fiend Hunter
-
1x
Ingot Chewer
- 1x Leonin Relic-Warder
-
1x
Path to Exile
- 1x Wear / Tear
From the Grave (6)
- 1x Goblin Welder
- 1x Karmic Guide
- 1x Myr Retriever
- 1x Scrap Trawler
- 1x Sevinne's Reclamation
- 1x Underworld Breach
Sunrise (3)
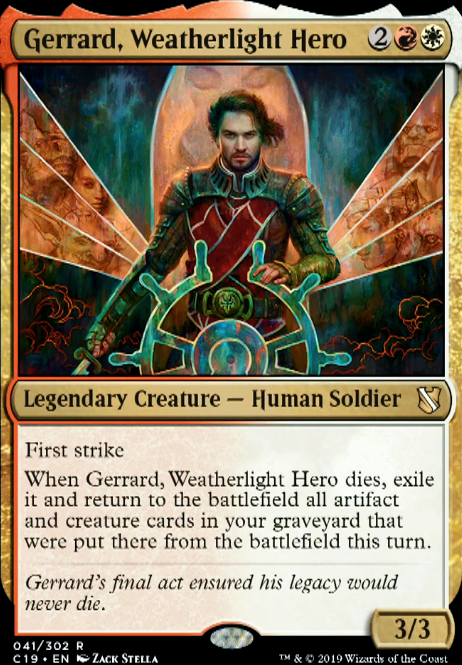
Commander (1)
Mana Rocks (11)
- 1x Arcane Signet
- 1x Boros Signet
- 1x Chrome Mox
- 1x Coldsteel Heart
- 1x Commander's Sphere
- 1x Fellwar Stone
- 1x Mind Stone
- 1x Mox Opal
- 1x Sol Ring
- 1x Talisman of Conviction
- 1x Thought Vessel
Sac Outlets (7)
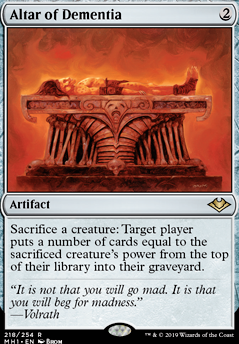
- 1x Altar of Dementia
- 1x Ashnod's Altar
- 1x Goblin Bombardment
- 1x Grinding Station
- 1x Krark-Clan Ironworks
- 1x Krark-Clan Shaman
- 1x Phyrexian Altar
Mana Eggs (4)
Protection (2)
Sideboard
Other (3)
Self-Sac (1)
Reanimation (2)
Combo (1)
Maybeboard
Good but slow (10)
- 1x Codex Shredder
- 1x Daretti, Scrap Savant
- 1x Ephemerate
- 1x Fervent Mastery
- 1x Magus of the Wheel
- 1x Memory Jar
- 1x Monologue Tax
- 1x Salvaging Station
- 1x Scrap Mastery
- 1x Smothering Tithe
Recursion (5)
- 1x Junk Diver
- 1x Remember the Fallen
- 1x Restoration Specialist
- 1x Teshar, Ancestor's Apostle
- 1x Vesperlark
Sac Outlet (4)
Lands (2)
Eggs (7)
- 1x Arcum's Astrolabe
- 1x Ichor Wellspring
- 1x Mishra's Bauble
- 1x Scrabbling Claws
- 1x Scroll of Avacyn
- 1x Sunbeam Spellbomb
- 1x Urza's Bauble
Ramp (5)
Cost Reducer? (Not sure) (4)
Card Advantage (2)
Mana Eggs (2)
Stax / Hate / Control (6)
- 1x Aven Mindcensor
- 1x Blood Moon
- 1x Cursed Totem
- 1x Damping Sphere
- 1x Drannith Magistrate
- 1x Rule of Law
Protection (5)
- 1x Flamescroll Celebrant Flip
- 1x Orim's Chant
- 1x Ranger-Captain of Eos
- 1x Rebuff the Wicked
- 1x Silence
Removal (5)
Filtering (2)
Other (1)
Suggestions
Updates Add
Comments
Attention! Complete Comment Tutorial! This annoying message will go away once you do!
Important! Formatting tips — Comment Tutorial — markdown syntax
Please login to comment
| Date added | 4 years |
| Last updated | 1 year |
| Legality | This deck is Commander / EDH legal. |
| Rarity (main - side) | 3 - 1 Mythic Rares 43 - 1 Rares 22 - 2 Uncommons 24 - 1 Commons |
| Cards | 100 |
| Avg. CMC | 2.14 |
| Tokens | Copy Clone, Treasure |
| Folders | EDH Permanent Residents |
| Votes | |
| Ignored suggestions | |
| Shared with | |
| Views |