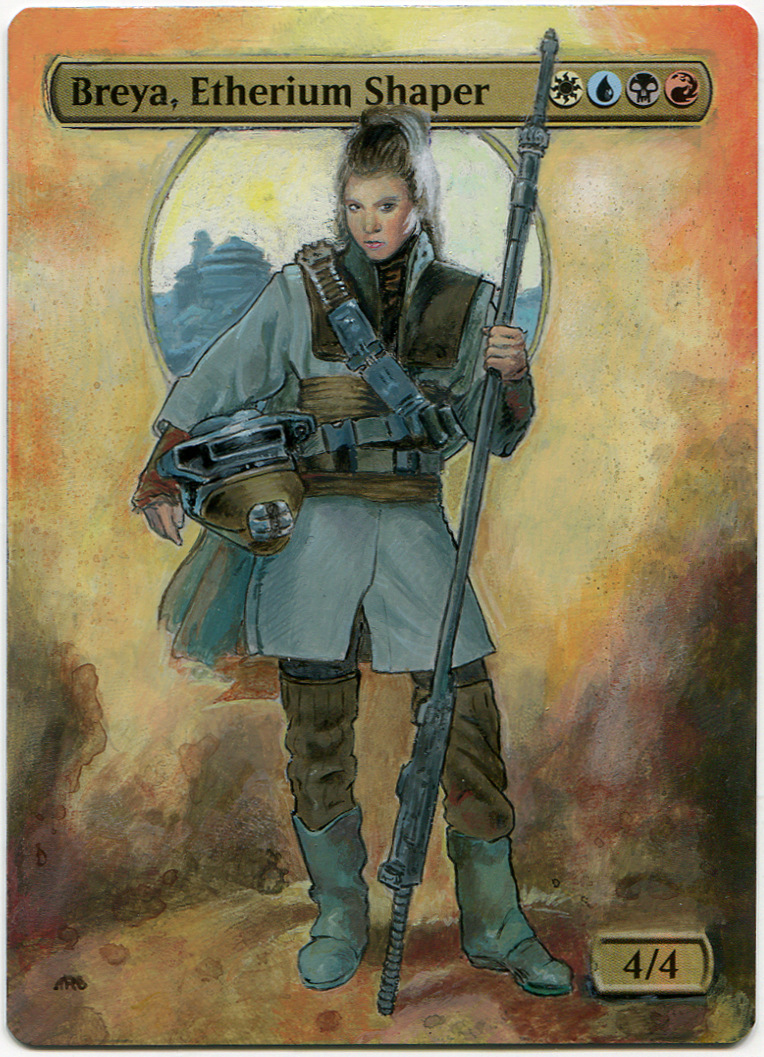
Breya, Combo Shaper


Introduction

Breya has a number of combos available that utilize her in the command zone. Her sacrifice abilities, with her being an artifact, allow for any infinite mana combo to kill a pod. The easiest to assemble seems to be Dramatic Reversal + Isochron Scepter .

This deck uses ramp, in the form of mana rocks, and tutors to quickly assemble a winning combo, while running counters and control spells to protect it.


There are a plethora of combos available, both in the colors or with Breya. I run the ones that best fit my play style.

This is one of the classic Breya combos, and also the slowest and most mana intensive. With Breya in play, sacrifice the two thopter tokens to the Ironworks/Altar for then use the mana to blink Breya with Eldrazi Displacer or bring back Breya with Nim Deathmantle.


These two, combined with mana rocks producing or more will produce infinite colorless mana. With Mox Diamond or Mox Opal (or rocks that produce all your colors), it can produce infinite colored mana. This allows you to cast and sacrifice Breya to kill the table. The Dramatic Scepter combo also produces infinite storm count for Aetherflux Reservoir.


The classic Bomberman combo. Sacrifice Lion's Eye Diamond for and use two of it to return the Diamond to your hand with the Salvagers ability. Repeat for infinite white, and then infinite for every color. Use this to cast and sacrifice Breya to her own ability repeatedly. This will also get you infinite storm count for Aetherflux Reservoir. This combo can be dangerous, as it leaves you defenseless after discarding your hand to the Diamond. So make sure you're in the clear before going off with this one.


This combo really just lets you draw you deck and cast a game winning combo. Make sure to either cast Angel's Grace first or hold priority after casting Ad Nauseam and cast Angel's Grace before passing. Once Ad Nauseam resolves, it's too late to cast Angel's Grace. Another thing to keep in mind with this one is that you'll be a negative life, meaning you can't cast Force of Will for it's alternative cost because you can't pay the life. This may be important to protect your combos.


Notable Exclusions

While this may be one of the fastest combo wins available, I don't run this combo, as I feel it interfers with Ad Nauseam by increasing the average cmc of the deck. It also requires extra slots for setup pieces, such as Entomb and Buried Alive. And drawing the Dragon isn't useful at all.

Another of the most popular combos for the decks that can run it, this one just isn't my style of play


Lands

A proper mana base is one of the most important things for a deck to run with any consistency.


Duals and Fetches

Obviously running all available original dual lands is the most optimal, so if you have them run them. Likewise, all 10 fetchlands will smooth your color requirements. Shocklands finish off the fetchable duals. Watery Grave and Hallowed Fountain are the only ones needed if you're running ABUR duals. The other shocklands can fill in if you're on a budget. (Steam Vents will eventually be replaced by Volcanic Island).

5 Color Lands

Lands that produce any color are the backbone of any good 4+ color deck. City of Brass and Command Tower are the go to any color land, but this deck makes use of its high artifact count to utilize Glimmervoid as well. Tarnished Citadel and Forbidden Orchard are well worth the drawbacks.

Utility Lands

This deck runs a small selection of utility lands. Inventors' Fair helps find combo or hate pieces. Cavern of Souls naming human helps protect Breya coming out. Tolaria West acts as a tutor that can find Lion's Eye Diamond to finish the bomberman combo, or Mox Opal to get colored mana from the Dramatic Scepter combo.

Other

Ancient Tomb and Urborg, Tomb of Yawgmoth help round out the lands. Both help power out spells fast, either by adding more than one mana or helping cast mana intensive spells (like Necropotence). Vault of Whispers is another tutorable black source and an artifact that can be sacrificed to Breya or Krark-Clan Ironworks.

Snow-Covered Island and Snow-Covered Plains are the only basics this list runs. Just to shore up against Path to Exile and Ghost Quarter.


Artifact Ramp

The mana rocks allow for quick plays and for you to cast multiple spells a turn. We run all the low cost rocks.


  • drops

The three best legal Moxes (Mox Diamond, Mox Opal and Chrome Mox) all allow for explosive starts. Mana Crypt is a no brainer. The fixed Lotuses (Lion's Eye Diamond and Lotus Bloom) can help hit the needed colors. Lotus Petal just helps drop things quicker.

  • drops

We run the basic suite of 1 drops, including Sol Ring and Mana Vault, as well as Chromatic Star and Chromatic Sphere to filter and draw.

  • drops

Grim Monolith, Fellwar Stone and the producing Talismans and Signets round out the last of our Artifact ramp.


Spells

Dark Ritual and Cabal Ritual fill out the rest of the ramp. Dark Ritual is an excellent early game accelerant, while Cabal Ritual help after some fetches and can trips are in the yard.


Counters

Counterspells are vitally important to protecting our combos and stop others from comboing off. Efficient, unconditional counters are the best.

Force of Will and Pact of Negation are your free counters. Counterspell is a good budget replacement if you don't have Mana Drain, which is strictly better. The one drop counters, Mental Misstep, Flusterstorm and Swan Song, are conditional, but have proven very useful. Countering someone's turn one Sol Ring or Mana Vault can make their keepable hand unplayable, and Swan Song hits more than enough relevant targets.

Draw

Powerful draw spells help keep this deck consistent. Being able to find answers and dig for your combos are the backbone of any cEDH deck.

The three strongest one mana draw spells available, Ponder, Preordain, and Brainstorm, work along side Gitaxian Probe, as a free cantrip, as the cheap draw spells. Mystic Remora is a very strong first turn drop, with its efficiency increasing with the competitiveness of the pod. Sensei's Divining Top helps dig and can help set up draws. It's real strength is in combination with shuffle effects, such as tutors and fetches.

Tutors

Tutors help make the deck consistent and allows you to find the missing combo pieces or answers to problem cards. Demonic Tutor is your strongest tutor, allowing for any card right to your hand. Vampiric Tutor, Enlightened Tutor, and Mystical Tutor will put the card on top of the library, but with the amount of draw in this deck, it isn't an issue. Gamble can be tricky, and is obviously at its best with a card that you don't mind in the graveyard such as Lion's Eye Diamond. I try to use this with a larger hand size to help the odds of keeping the tutored card. Whir of Invention, Fabricate, and Trinket Mage help find key artifacts. Tolaria West can find any land as well as Pact of Negation or your artifacts

Removal

Hate Cards


Suggestions

Updates Add

Comments

Attention! Complete Comment Tutorial! This annoying message will go away once you do!

Hi! Please consider becoming a supporter of TappedOut for $3/mo. Thanks!


Important! Formatting tipsComment Tutorialmarkdown syntax

Please login to comment

Casual

100% Competitive

Date added 7 years
Last updated 2 years
Key combos
Legality

This deck is Commander / EDH legal.

Rarity (main - side)

10 - 0 Mythic Rares

52 - 0 Rares

19 - 0 Uncommons

17 - 0 Commons

Cards 100
Avg. CMC 1.83
Tokens Bird 2/2 U, Spirit 1/1 C, Thopter 1/1 U
Folders EDH, breya revisions, Possible decks
Votes
Ignored suggestions
Shared with
Views