
[[Primer]] Gonti - Night Market Shenanigans
Commander / EDH Devotion Mono-Black Necropotence Primer Reanimator

![[[Primer]] - Omnath - Roid Rage Ramp thumbnail](http://static.tappedout.net/chart/0-0-0-20-80-small.png)
![Omnath, Locus of Rage feature for [[Primer]] - Omnath - Roid Rage Ramp](http://static.tappedout.net/alter-cards/Guerte/image_k434VFn.jpeg)
![[[Primer]] - Daretti - Degenerate Artifacts thumbnail](http://static.tappedout.net/chart/0-0-0-100-0-small.png)
![Daretti, Scrap Savant feature for [[Primer]] - Daretti - Degenerate Artifacts](http://static.tappedout.net/alter-cards/Guerte/44e603cc-14fc-48a9-8a39-7248d8d9ea4d_zpsdgzhjl63.jpg)
Creature (21)
- 1x Viscera Seer
- 1x Mesmeric Fiend
- 1x Soldevi Adnate
- 1x Crypt Ghast
- 1x Erebos, God of the Dead
- 1x Faceless Butcher
- 1x Nightmare Shepherd
- 1x Ravenous Chupacabra
- 1x Solemn Simulacrum
- 1x Xiahou Dun, the One-Eyed
- 1x Chainer, Dementia Master
- 1x Gray Merchant of Asphodel
- 1x Phyrexian Delver
- 1x Sidisi, Undead Vizier
- 1x Kokusho, the Evening Star
- 1x Massacre Wurm
- 1x Noxious Gearhulk
- 1x Wurmcoil Engine
- 1x Meteor Golem
- 1x Rune-Scarred Demon
- 1x Sheoldred, Whispering One
Instant (7)
- 1x Entomb
- 1x Supernatural Stamina
- 1x Undying Evil
- 1x Vampiric Tutor
- 1x Corpse Dance
- 1x Hero's Downfall
- 1x Snuff Out
Planeswalker (1)
Land (36)
- 1x Ancient Tomb
- 1x Arcane Lighthouse
- 1x Cabal Coffers
- 1x Cabal Stronghold
- 1x Castle Locthwain
- 1x Deserted Temple
- 1x High Market
- 1x Nykthos, Shrine to Nyx
- 1x Petrified Field
- 1x Phyrexian Tower
- 1x Sanctum of Eternity
- 20x Snow-Covered Swamp
- 1x Thespian's Stage
- 1x Urborg, Tomb of Yawgmoth
- 1x Vesuva
- 1x Volrath's Stronghold
- 1x Witch's Cottage
Artifact (13)
Commander (1)
Sorcery (14)
- 1x Reanimate
- 1x Scheming Symmetry
- 1x Demonic Tutor
- 1x Diabolic Intent
- 1x Night's Whisper
- 1x Sign in Blood
- 1x Morbid Curiosity
- 1x Read the Bones
- 1x Toxic Deluge
- 1x Yawgmoth's Will
- 1x Damnation
- 1x Mutilate
- 1x Beacon of Unrest
- 1x Living Death
Enchantment (7)
Currently the #1 Gonti deck on TappedOut!

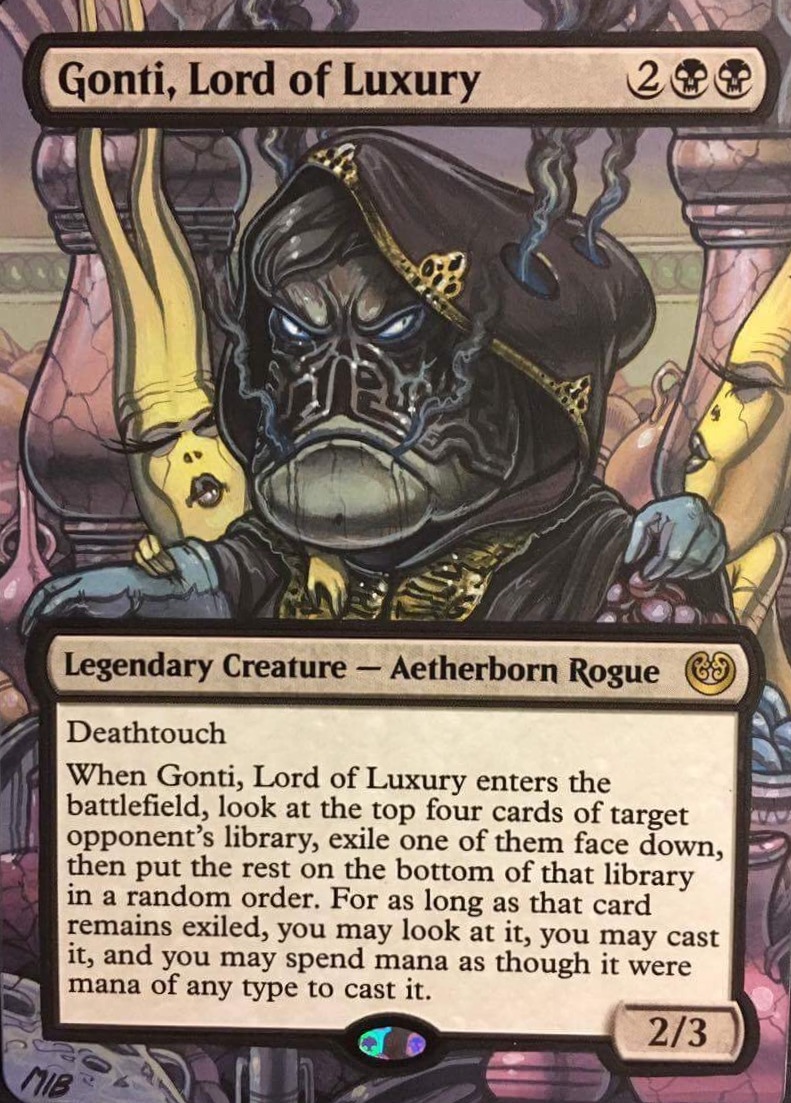
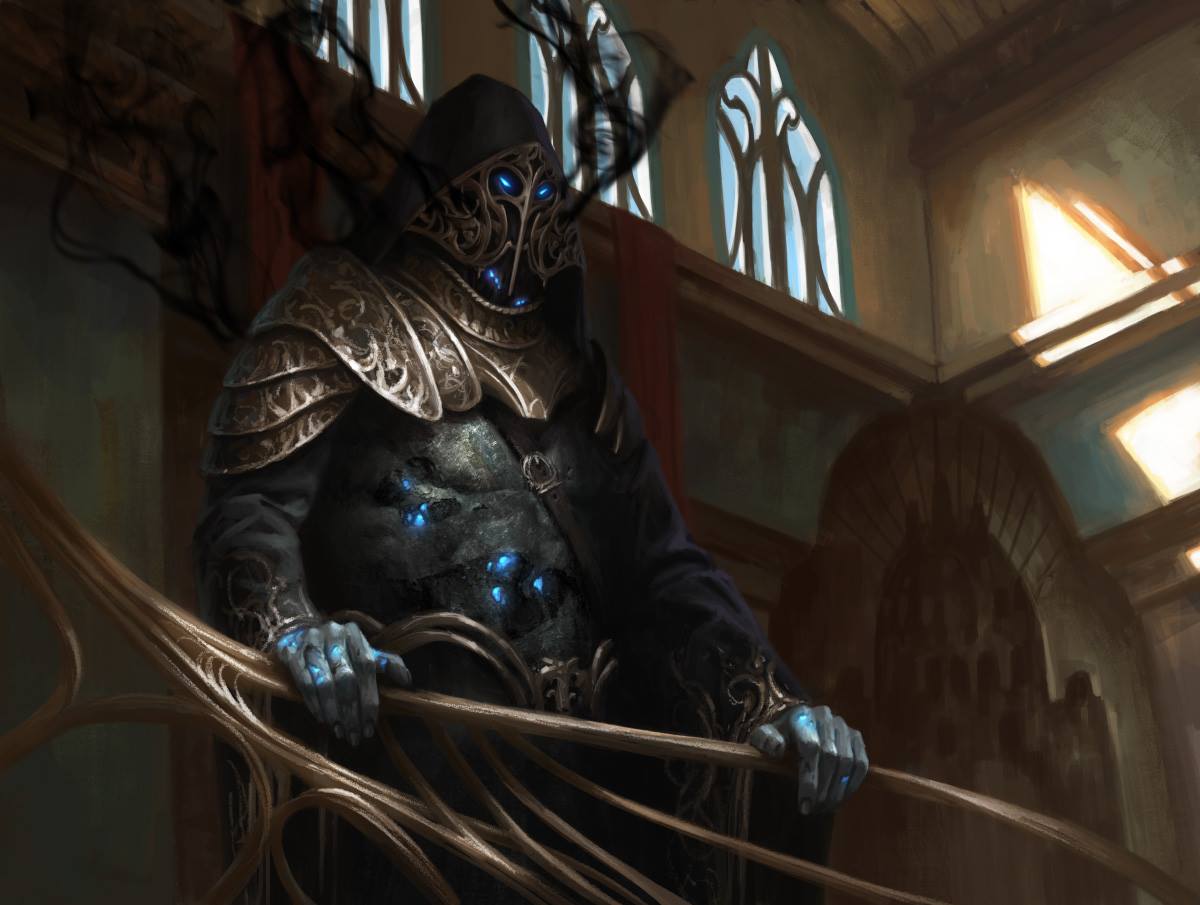
Gonti is an Aetherborn crime lord from the plane of Kaladesh, and what better way to showcase his criminal antics than by stealing other people’s cards?!
The premise of this deck is simple: cast Gonti and steal things. We utilize an array of reanimation spells in order to continually trigger Gonti and gain value by being able to play powerful spells outside of our Mono Black color identity. That is the main goal of the deck. A sub-theme of the deck is being able to use other “enter the battlefield”, or ETB, effects to continuously gain value and help control the board.
We can win by out-valuing the other players, or simply by biding our time and going for a Nim Deathmantle/Ashnod's Altar combo kill.

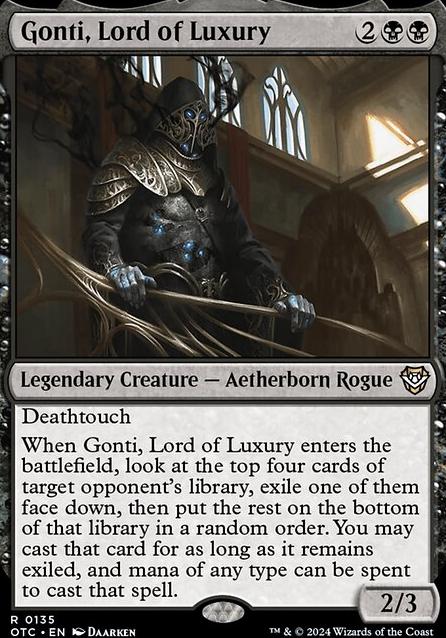
Gonti, Lord of Luxury is a pretty unique card in that it does something mono black doesn’t do very often, if at all: it allows you to play other people’s cards. Let’s take a closer look at the card itself:
Gonti costs for a 2/3 with Deathtouch. He is fairly costed, and you can get him out as early as turn two, or turn one if you have a great opening hand. While his stats are fairly low and can die to quite a variety of damage spells, he can trade with almost any creature, excluding Indestructible or anything that prevents damage, thanks to Deathtouch.
His ability is the sole reason why this deck was built. When he enters the battlefield, we get to look at the top four cards of a target opponent’s library, exile one of them face down so only we know what it does, and put the rest on the bottom of the library in any order. At any time during the game, we can look at it, and as long as we have priority and the timing is right, we can cast it and spend mana as though it were of any type. Yes, type, and not color. We get to use colorless mana to cast a Counterspell if we so choose to. And what makes the ability even better is that we can cast it for as long as it remains exiled, even if Gonti is no longer on the battlefield. Talk about value!
Do remember this: you cast the card you exiled. You cannot play lands if you choose them. However, if there is a land that can be problematic, such as Gaea's Cradle or even Dark Depths, don’t hesitate to exile them.
You might like Gonti if:
- You like mono black.
- You like having a unique and flavorful general.
- You want to play mono black, but also cast spells of other colors.
- You like reanimating creatures.
You might dislike Gonti if:
- You dislilke mono color decks.
- You would rather play anything besides black.
- You enjoy your deck so much you don’t want to play anyone else’s.
- You don’t like having fun and having some wacky games.


Viscera Seer: Early game sac outlet. We like our sac outlets to be free to activate, and Seer does that. He comes out early enough, and helps set up our draws by scrying away cards we don't want.
Dusk Legion Zealot/Phyrexian Rager: Early card draw on ETB creatures. We don't do much in the earlier turns, so these will help us to dig deeper into our deck for things to do later on.
Mesmeric Fiend: A new addition to the deck. I wanted to have a more proactive approach to removal, so what better way to do that than take it straight from the hand. Fiend also exiles the card, so it's permanent removal, for the most part, and hits any nonland card. Much like Faceless Butcher, its two effects are separate, so after it enters and triggers, you sacrifice it, its LTB effect will trigger, returning nothing, and then the ETB effect resolves and exiles the card indefinitely.
Soldevi Adnate: Sac outlet that generates an amount of equal to the CMC of the sacrificed creature. This will basically pay Gonti's printed cost, and all we need to pay for is the commander tax. Otherwise, we sac another creature to pay for other spells.
Crypt Ghast: Staple card in any mono black deck. Doubles the amount of mana your Swamps produce. Has the added effect of draining each opponent and you gaining that much life at the cost of each time you cast a spell. With Urborg, Tomb of Yawgmoth out, tapping your nonbasic lands for will net .
Dimir House Guard: Mainly used as a tutor. There are 14 cards with a CMC of 4, meaning there is no end to what this guy can grab such as removal, card draw, or utility. Can also use him as a body with a built-in sac outlet.
Entomber Exarch: Recursion and proactive removal on an ETB creature. Allows us to pull creatures from the graveyard to reuse, or it gets problematic noncreature spells from an opponent. The versatility on this creature is very nice.
Erebos, God of the Dead: A source of indestructible card draw. Prevents opponent’s from using any lifegain shenanigans. When we have enough devotion, we get ourselves a 5/7 indestructible beater.
Faceless Butcher/Ravenous Chupacabra: Removal on a stick for any creature an opponent controls. Another ETB effect to abuse with Panharmonicon/Conjurer's Closet. Butcher can also be used in conjunction with a sac outlet to permanently exile a creature due to the separated clause in its effect.
Solemn Simulacrum: Sad Robot! On ETB, he allows us to search up a land. On death, he lets us draw a card . Both effects we love in this deck.
Thought-Knot Seer: This card is in the same vein as Mesmeric Fiend. Used as proactive removal to get rid of threats straight from the hand. The downside is that it will give an opponent a free card draw when it leaves. It also has separate ETB/LTB triggers, so you can use a sac outlet to have the opponent draw a card first, and then exile any one of them, or use it politically and exile a card from one opponent, and give the card draw to another. It does require to cast, so be sure you have a nonblack producing land ready.
Gray Merchant of Asphodel: Big Daddy Gary! This guy gets to be bonkers if our devotion is high and we have Panharmonicon on the field. Even better when Conjurer's Closet is also out. Gains us life and drains our opponents. One of our win conditions in the deck.
Sidisi, Undead Vizier: Tutor on a stick. Doubles as a sac outlet for a creature so we can reanimate it to get more use out of an ETB effect. 4/6 with Deathtouch is nothing to scoff at either.
Duplicant: Colorless removal that exiles so it gets around indestructible creatures. Do note that he only copies P/T and Creature Type and not any abilities. If you go to exile a commander, and they choose to put it into the Command Zone instead, Duplicant will not copy the values as it is a replacement effect, so will enter as a 2/4 Shapeshifter. No worries though, as we can just sac him and reuse him later.
Grave Titan: 10 power across 3 three bodies for is pretty good, especially when one of those bodies is a 6/6 with deathtouch. Can be used to generate infinite zombies and mana, and is a part of a win condition for the deck.
Kokusho, the Evening Star: One of the Legendary Kamigawa dragons, and the best one if you ask me. Keep sacrificing him and bringing him back will eventually kill our opponents, so he is another win condition in the deck.
Noxious Gearhulk: Another piece of our removal package. Repeatable use as it is an ETB effect creature so it can be blinked or recurred. Can also hit our creatures if we want to bring them back from the graveyard.
Wurmcoil Engine: Wurmcoil helps alleviate the loss of life that mono black is known for. It is also part of an infinite mana engine that gets passed Torpor Orb-like effects, as it is a death trigger instead of an ETB trigger. Not only helps create infinite mana, but can also create infinite tokens as well.
Meteor Golem: Black has a hard time dealing with noncreatures. Oblivion Stone and Nevinyrral's Disk were used as ways of getting rid of these things. However, they hurt us as much as the opponent, if not more. Enter Meteor Golem. Our saving grace. He can destroy any nonland permanent. It's an ETB effect so it's abusable with Panharmonicon/Conjurer's Closet/Lifeline. He's a creature so he can be reanimated for multiple uses. By far the best card M19 has brought to this deck.
Rune-Scarred Demon: Another tutor on a stick. for a 6/6 flyer is still kinda hefty, but since it has an ETB effect of tutoring any card, he makes the cut in the deck as we can flicker with
Conjurer's Closet and bring him back from the graveyard.
Sepulchral Primordial: Recursion for opponents' creatures. Not the most powerful effects for cost, as some opponents may not even run creatures, but it can bring back up to three creatures (six if Panharmonicon is out).
Sheoldred, Whispering One: The big boss lady herself. Removal and recursion in one creature. She tends to paint a big target on her head, but if she sticks around, she can give you some pretty good value.

Mana Crypt/Sol Ring/Jet Medallion: The mana rocks. Helps accelerate us into playing more spells each turn, or bigger spells. Invaluable to have in EDH.
Expedition Map: Land tutor. It mostly tutors up Cabal Coffers, but will also grab Urborg, Tomb of Yawgmoth, Nykthos, Shrine to Nyx, Ancient Tomb, or even the new Cabal Stronghold. Can also grab one of the other utility lands depending on what we need at the time.
Nim Deathmantle: Artifact that lets us return a creature when it dies for only . Also gives the creature +2/+2 and intimidate for a little evasion. Main combo piece alongside Ashnod's Altar.
Ashnod's Altar: Sac outlet that gives us for every creature sacrificed. Use it to power out a bigger spell, gives us another target to reanimate, and is a combo piece alongside Nim Deathmantle.
Phyrexian Altar: Another sac outlet that gives us mana. This Altar allows us to generate mana of any color, so if we steal something with an activated ability that requires mana, we can pay its cost. It does not go infinite like Ashnod's Altar, but can do so if you also have a Panharmonicon out to double up on the tokens produced by Grave Titan/Marionette Master.
Panharmonicon: This is what the deck is built around.. This card is SO GOOD! Doubles all of our ETB triggers so we can get double exile, double life drain, double sacrifices, double trouble! This card usually paints a big target on itself when you play it, but if it sticks around, you will not be disappointed. Can get multiple uses out of it with Beacon of Unrest.
Lifeline: This artifact can be a double-edged sword. It makes all of our removal null (minus board wipes) as it also works on our opponent's creatures as well. However, the advantage we have with all of our ETB effects should outweigh the negativity it has. With a sac outlet, we can sac and bring back every turn, and gain insane value in the process.
Conjurer's Closet: Another of Gonti’s favorite toys to play with. Allows us to get more use out of our ETB creatures that are already on the battlefield. If we control an opponent’s creature, we can use Closet to exile it and it will return under our control. If we somehow gain control of their commander, we can use Closet to exile it, they can then choose to put their commander in the command zone, but it will still return under our control since Closet says to "return that card" to the battlefield and not "return the exiled card," as it doesn't reference the exile zone.

Reanimate: The best reanimate spell. Returns any creature at the price of its CMC being deducted from your life.
Black Sun's ZenithToxic Deluge/Damnation/Mutilate: Board wipes. Not much to be said about these except these are probably the best ones you can use. BSZ, Deluge, and Mutilate get past indestructible creatures as well.
Demonic Tutor: Black staple card. Hands down the best tutor available. to bring any card from your library to your hand is insane. Search up an answer if you need it, or a fun card if you want it.
Diabolic Intent:Sac outlet and tutor. Having another low-cost tutor will help us grab a card we need, and it gives us another creature to reanimate for value.
Night's Whisper/Sign in Blood/Morbid Curiosity/Read the Bones: Card draw. Black is pretty good at drawing cards in exchange for life, and these cards are great examples. Sign in Blood can also be used to kill an opponent if they are at 2 or less life.
Buried Alive: Sorcery-speed Entomb, but for three creatures instead of one. Can be used to set up a good Living Death, or just to have options to reanimate. Probably one of the weaker cards in the deck to be honest.
Yawgmoth's Will: One of the best black spells ever printed. Allows us to replay any card from our graveyard. Use caution with this spell, however, as any card that goes to the graveyard the same turn this is played will be exiled.
Beacon of Unrest: Reanimates any creature or artifact from any graveyard, then will get shuffled back into your library for future use, if it resolves. Really useful if someone gets rid of Panharmonicon/Conjurer's Closet or any other good card.
Living Death: This card doubles as removal and recursion. Gets around indestructible creatures since they are sacrificed and not destroyed.

Entomb: Mainly used to get a creature into the graveyard for later reanimation. Could also be used to put an artifact in the graveyard to be brought back with Beacon of Unrest.
Supernatural Stamina/Undying Evil: Our surprise reanimate spells. Only works if our creature is going to die; they cannot return something that is already dead.
Vampiric Tutor: Instant speed tutor. Grabs a card and sticks it on top of our library for two life. If I start the game with it, I will usually grab Mana Crypt in order to get a turn two Gonti or something else early on. Otherwise, it will grab whatever we need at the time.
Wake the Dead: Another instant speed reanimation spell. Can only be used during an opponent's combat step, but has the ability to reanimate more than one creature for some surprise shenanigans.
Corpse Dance: Instant speed reanimate spell. This one is a bit limited as it can only grab the top most creature in your graveyard, and it exiles at end step. A sac outlet is useful in conjunction with it if you want to bring the creature back at a later time.

Kaya's Ghostform: A new toy from WAR. It is functionally identical to Undying Evil/Supernatural Stamina in the sense that when the creature dies, it will be returned to the battlefield. This card, however, does more, as it also functions when it gets exiled AND also works on planeswalkers as well!
Phyrexian Reclamation: Cheap way to bring back creatures from the graveyard so we can use them again.
Animate Dead/Dance of the Dead/Necromancy: Reanimation enchantments. Can be used to grab any creature from any graveyard. Necromancy can also be played at instant speed for surprise shenanigans, but the creature will be sacrifice at end step.
Necropotence/Phyrexian Arena: More card draw that sticks around after it’s cast. These two are probably the best card draw spells that black has to offer.

Liliana of the Dark Realms: Mainly used to grab a Swamp. Can also act as spot removal when in a pinch, and if we can get to her ultimate, we will have plenty of mana for our shenanigans.

Ancient Tomb: Great EDH land. Allows us to play our spells a turn earlier than normal at the cost of two life.
Arcane Lighthouse: Sometimes we need to get rid of a creature that has shroud/hexproof while leaving our creatures intact, so this utility land gives us that ability to do so with targeted removal.
Cabal Coffers: My favorite land of all time. Can net so much mana, especially with Urborg, Tomb of Yawgmoth in play. Without Urborg, however, you need to have 4 Swamps before you can start to net mana.
Cabal Stronghold: Cabal Coffers, Jr. The nice thing about this land is that it produces mana itself. However, in order to net mana, you need to have 5 Swamps out, and they have to be basic, since that’s what it counts. It will not work with Urborg, since it doesn’t make them basic Swamps.
Deserted Temple: Allows us to make a bunch more mana with Cabal Coffers/ Cabal Stronghold/ Nykthos, Shrine to Nyx. Can also get second uses out of other utility lands.
High Market: The life gain is fairly insignificant compared to what we will lose over the course of the game, but it is a sac outlet irregardless.
Nykthos, Shrine to Nyx: Another big-mana producing land. Needs our devotion to be at least in order to net any mana.
Petrified Field: Since we don't run, or even have use for, Crucible of Worlds, this is the next best option we have to reuse Coffers/Stronghold/Nykthos if they get destroyed.
Phyrexian Tower: Sac outlet land that produces to cast spells or activate abilities.
Swamp: The lifeblood of the deck. No Swamps means no playing our black cards. Not much to say about these, except make sure they match!
Thespian's Stage: Used to copy our non-legendary lands, or can copy an opponents if we need it to.
Urborg, Tomb of Yawgmoth: Makes all lands into Swamps. Allows Crypt Ghast to create a lot of mana, and works wonders with Cabal Coffers.
Vesuva: Another copy land. Gives us another Coffers/Stronghold to use, or we can even copy someone else's land as well.
Volrath's Stronghold: Utility land that lets us reuse our creatures by putting one on top of our library. Will also keep us from decking out, as long as we have a creature in our graveyard.


Damnation, Ancient Tomb, Swamp, Faceless Butcher, Sol Ring, Duplicant, Volrath's Stronghold: This hand is borderline. We have three lands, but only one of them being a Swamp. We also have Sol Ring, which will power out our higher CMC spells. Plenty of removal to keep the board clear, it just all depends on who we are playing against, and if we feel we can draw into a Swamp within the first couple of turns.
Necromancy, Swamp, Swamp, Fellwar Stone, Ancient Tomb, Animate Dead, Swamp: This hand is a keep. We are on curve for hitting a turn three Gonti, possibly turn two if an opponent plays out a Swamp of their own. We also have a couple pieces of recursion in case Gonti gets removed and we can get him out cheaper by bringing him back from the graveyard instead of having to recast him.


- Anafenza, the Foremost
- Bojuka Bog
- Containment Priest
- Grafdigger's Cage
- Leyline of the Void
- Nihil Spellbomb
- Rest in Peace
- Tormod's Crypt
These are only a few of the many graveyard hate cards in the game. Any of them are bad for us so if we can get rid of them, we should definitely prioritize that.
The second theme of the deck is Enters the Battlefield (ETB) effects. Most of our creatures have an ETB effect that helps us in some way, so if those get shut off, we have a hard time of winning. Even parts of our combo rely on our creatures entering the battlefield. So, some of the cards we need to look out for are:
Another problem we will run into is anything that has or can grant Hexproof/Shroud. A lot of our ETB creatures interact by targeting. If we can’t target our opponent’s stuff, then we may end up targeting ours if they are legal targets, and we don’t want that happening. That is why we have added in Arcane Lighthouse to interact with these creatures.Be mindful of these effects and play wisely.

*While this deck list may or may not contain some of the cards in these combos, I felt like leaving them in there for those that do run them. It is a lot of information, and I'd rather not have to retype it all in case I add these cards back in the future.
Spoiler (click to show)
This engine utilizes Ashnod's Altar with Nim Deathmantle and one of these creatures:
- Su-Chi: Sacrifice Su-Chi to generate , which will trigger Nim Deathmantle and Su-Chi's on-death trigger, which will then generate an additional . Use that mana to bring back Su-Chi. Repeat for infinite .
- Grave Titan: With Grave Titan and two Zombie tokens on the battlefield, sacrifice all three to generate . Use to bring back Grave Titan and create two more Zombie tokens. Repeat for infinite . You can also sacrifice Grave Titan and one Zombie token to generate , bring back Grave Titan and create two zombie tokens. Repeat for infinite Zombie tokens.
- Marionette Master: With Marionette Master and three Servo tokens, sacrifice all three tokens to generate and have an opponent lose three life. Sacrifice Marionette Master to generate an additional , and use to bring her back and create three more Servo tokens, and netting . Repeat to infinitely drain all opponents.
- Wurmcoil Engine: With Wurmcoil Engine on the battlefield, sacrifice it to generate and put the Nim Deathmantle's trigger on the stack first, followed by the Engine's. Create the two tokens, then sacrifice both for and use the mana to bring back Engine, netting in the process. Repeat for infinite . You can also sacrifice only one token to bring back Engine, and repeat again for infinite Lifelink/Deathtouch Wurm tokens.
This engine utilizes Phyrexian Altar in place of Ashnod's Altar, but is only compatible with these two creatures:
- Su-Chi: Sacrifice Su-Chi to generate , which will trigger Nim Deathmantle and Su-Chi's on-death trigger, which will then generate an additional . Use that mana to bring back Su-Chi. Repeat for infinite .
- Marionette Master: With Marionette Master and three Servo tokens, sacrifice all three tokens to generate and have an opponent lose three life. Sacrifice Marionette Master to generate an additional , and use to bring her back and create three more Servo tokens. Repeat to infinitely drain all opponents.
*You can also use Grave Titan in this engine if Panharmonicon is out on the battlefield.
Now that we have generated infinite mana, we can use one of the following cards to close out the game:
- Gonti, Lord of Luxury: With Gonti on the battlefield, sacrifice it and send to the graveyard, triggering Nim Deathmantle. Bring Gonti back with the infinite mana and exile one card from an opponent's library. Repeat to exile all cards in all libraries. Pass the turn and when they try to draw, they lose the game.
- Gray Merchant of Asphodel: With Gray Merchant on the battlefield, sacrifice it and send to the graveyard, triggering Nim Deathmantle. Bring him back with the infinite mana and drain your opponent's life equal to your devotion to black and gain that much life. Repeat to drain all opponents.
- Kokusho, the Evening Star: With Kokusho on the battlefield, sacrifice it and send to the graveyard, triggering Nim Deathmantle and Kokusho, draining each opponent for five life and you gaining that much. Bring back Kokusho with the infinite mana, and repeat to infinitely drain all opponents.
- Marionette Master: With Master and the three Servo tokens on the battlefield, sacrifice the three Servos, draining an opponent for three life, then sacrifice Master and bring back with the infinite mana. Repeat to infinitely drain all opponents.
One thing to keep in mind is that if there is a Torpor Orb-like effect on the battlefield, it will shut off our ETB creatures, nullifying part of our engine. However, we do have two ways of still generating infinite mana through these effects, and also a win condition that is not an ETB effect:

Updates Add
Comments View Archive
Attention! Complete Comment Tutorial! This annoying message will go away once you do!
Important! Formatting tips — Comment Tutorial — markdown syntax
Please login to comment
Casual
93% Competitive
Revision 33 See all
(4 years ago)
| -1 | Entomber Exarch | main |
| +1 | Kaya's Ghostform | main |
| -1 | Marionette Master | main |
| +1 | Minion's Return | main |
| +1 | Phyrexian Delver | main |
| -1 | Wake the Dead | main |
| Top Ranked |
|
| Date added | 7 years |
| Last updated | 4 years |
| Legality | This deck is Commander / EDH legal. |
| Rarity (main - side) | 10 - 0 Mythic Rares 46 - 0 Rares 13 - 0 Uncommons 11 - 0 Commons |
| Cards | 100 |
| Avg. CMC | 3.33 |
| Tokens | Copy Clone, Emblem Liliana of the Dark Realms, Wurm 3/3 C w/ Deathtouch, Wurm 3/3 C w/ Lifelink |
| Folders | Liked Decks, edh ideas, Current EDH Decks, Gonti, EDH, decks i want, A EDH Playtest, Edh, Want, Intresting commander decks |
| Votes | |
| Ignored suggestions | |
| Shared with | |
| Views |