Our best possible win is T1 if we are on the draw. This happens when you have seven of this pool of cards in any combination:
4x chancellor of the tangle
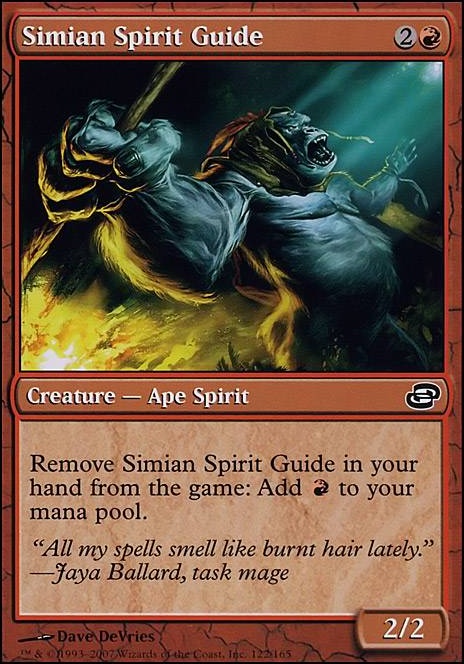
4x simian spirit guide
1x stomping ground
You can also have wraiths in hand, but you have to have at least three chancellor of the tangles, and you have to draw into other cards in the pool off of the cycle ability. You have to draw charbelcher on your draw step. This win is pretty straightforward: you end up with seven mana floating during main phase one. Use this to play and blast the cannon. As long as there are ten or more cards remaining between you and one of the four remaining lands, you win the game. I’m not saying you should keep a hand with this many free mana sources and nothing to do with them, but if you want to meme your way to a win, this is the way to go.
Our ideal win is T3 on the play, by getting seven mana to play and blast belcher. Preferably, you will also have been able to get rid of as many lands as possible from your deck. It would look something like this.
T1: have a leyline of abundance on the field, play a land into a dork. If you have both a chancellor and a spirit guide you don't need the land; the land will let you play the dork turn one, and will also serve to get you to seven mana by turn three. Chancellor lets you play the dork, spirit guide gets you to seven mana.
T2: Your floor for this turn is to just play two more dorks off of your first one. Your ceiling is to play a breeding pool untapped, play two dorks, and cast two quests to strip some lands out of your deck.
T3: Your floor is assuming you didn't play a land turn one. You tap your three dorks for six, exile guide, and play and blast a belcher. Your ceiling is you play a third land untapped, play two more quests to strip the final two lands out if your deck, then tap your final land and three dorks for seven. You would blast them for 47.
The average win is T4, since complete elimination of lands is much easier and more viable by T4 than by T3, and it accounts for hands with low access to mana accelerants, as well as belcher whiffs. The vast majority of the time, we will untap on T4 with a charbelcher on the field, and by the time we activate it, we almost always have 3-4 lands in the deck and 45-48 cards in the deck, putting your chances of failing at a kill at between 1/12 and 1/15, which are pretty decent odds. Remember that you can always belch again the next turn, and you have an even lower chance of failing since you just stuck a land on the bottom.
General tips:
-
keep track of your ancient stirrings and your shuffles! This is super important. If you put 2-3 lands on the bottom with ancient stirrings, you can count that as 2-3 lands that aren’t in your deck anymore, meaning it’s not worth it to shuffle your deck and try to get them out but risk whiffing with charbelcher.
-
the same thing goes for whiffing with stirrings, since each stirrings that doesn’t find a land decreases your damage potential by 5. The general rule is if there are three lands left in your deck, and you’ve whiffed at least once in a stirrings, you should probably shuffle. If there are two lands, and you’ve whiffed at least twice, you should also probably shuffle.
-
always belch as soon as possible. Even if there are a substantive amount of lands left in the deck, you want to activate belcher as soon as you have the mana, because you can always activate it again next turn, and there is always the chance that your lands are at the bottom.
-
if you activate belcher and don’t kill the opponent, don’t shuffle your library to look for a land; belcher just put one on the bottom, and you will activate it again next turn.
-
if they have a threat on the board that will kill you if you whiff on belcher, always target that threat with belcher, since you will usually be able to kill it and putting the land on the bottom will most likely ensure a win next turn.