
Land (29)
-
1x
Ancient Tomb

-
1x
Arid Mesa
-
1x
Blood Crypt
-
1x
Bloodstained Mire
-
1x
Breeding Pool
-
1x
Cascading Cataracts
- 1x Cavern of Souls
- 1x Command Tower
-
1x
Flooded Strand
- 1x Glimmervoid
-
1x
Godless Shrine
-
1x
Hallowed Fountain
- 1x Indatha Triome
-
1x
Mana Confluence
-
1x
Marsh Flats
-
1x
Misty Rainforest
-
1x
Overgrown Tomb
-
1x
Polluted Delta
-
1x
Sacred Foundry
-
1x
Scalding Tarn
-
1x
Spire of Industry
-
1x
Steam Vents
-
1x
Stomping Ground
-
1x
Temple Garden
-
1x
Twilight Mire
-
1x
Verdant Catacombs
-
1x
Watery Grave
-
1x
Windswept Heath
-
1x
Wooded Foothills
Combo Dragon (7)
Ramp (28)
- 1x Arcane Signet
- 1x Azorius Signet
- 1x Basalt Monolith
- 1x Boros Signet
- 1x Chromatic Orrery
- 1x Crop Rotation
- 1x Dimir Signet
- 1x Fellwar Stone
- 1x Golgari Signet
- 1x Grim Monolith
- 1x Gruul Signet
- 1x Izzet Signet
-
1x
Mana Crypt
-
1x
Mana Vault
- 1x Mox Amber
-
1x
Mox Opal
- 1x Nature's Lore
- 1x Orb of Dragonkind
- 1x Orzhov Signet
- 1x Rakdos Signet
- 1x Selesnya Signet
- 1x Simic Signet
-
1x
Sol Ring
- 1x Talisman of Hierarchy
- 1x Talisman of Resilience
- 1x Three Visits
- 1x Utopia Sprawl
- 1x Wild Growth
Temp Ramp (6)
Support Dragon (4)
Commander (1)
Support (15)
- 1x Buried Alive
- 1x Crux of Fate
- 1x Demonic Tutor
- 1x Enthusiastic Mechanaut
- 1x Etherium Sculptor
- 1x Grand Abolisher
- 1x Helm of Awakening
- 1x Invoke Calamity
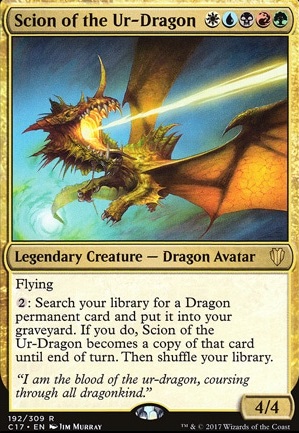
- 1x Kinnan, Bonder Prodigy
- 1x Mystical Tutor
-
1x
Orim's Chant
- 1x Silence
-
1x
Survival of the Fittest
- 1x Teferi, Time Raveler
- 1x Vampiric Tutor
BIGWIN (10)
Sideboard
Welcome to my Scion deck explanation its a little wordy but its also a fairly thorough dissection of the build, please enjoy!


Typical turns:
- Land + ramp(Sol Ring)
- Land + ramp(Arcane Signet)
- Land +cast Scion of the Ur-Dragon
- Dump dragons,(SeeCard Selection, Dragons and Resurrection)
- BIGWIN (Patriarch's Bidding)
Rocks:

Non- rocks:
This takes the form primarily in mana added spells like Channel Suns, however there are also 2 enchantments with an effective cost of 0, a mana search with effective cost of 1 and Crop Rotation which can be used to fix colors or grab Ancient Tomb for mana added on turn.
Actual Mana:
In this deck we run a risky very lean mana base focused on leveraging the massive rock count, This list looks for high color availability to make sure the deck hits the whichever color it needs most at any given time.
Cost reduction and added value:
Kinnan, Bonder Prodigy will help the deck have insane explosive turns especially if you’ve been hoarding cards, while Etherium Sculptor and others also support the artifact heavy manabase.
Dragons aggro combo:

- Karrthus, Tyrant of Jund _OR_ Dragonlord Kolaghan can provide haste. We'll want to do this in one turn
- Utvara Hellkite _OR_ Miirym, Sentinel Wyrm so we can make some dragon tokens
- Scourge of Valkas _OR_ Terror of the Peaks so all those tokens can burn players and creatures to dust. The first cards listed are generally going to give higher damage results and any are generally lethal to a single player, however we can do one better
- Scourge of the Throne double attack in one turn will make the other dragons abilities exponential, resulting in hundreds of damage to divvy on the table.
Dragons protection:
Dragonlord Dromoka is around to protect the combo and follows a theme of silence requiring counters to come out. The ones with Hexproof are there to help keep Scion in the battlefield if opponents are targeting him.
The BIGWIN spell:
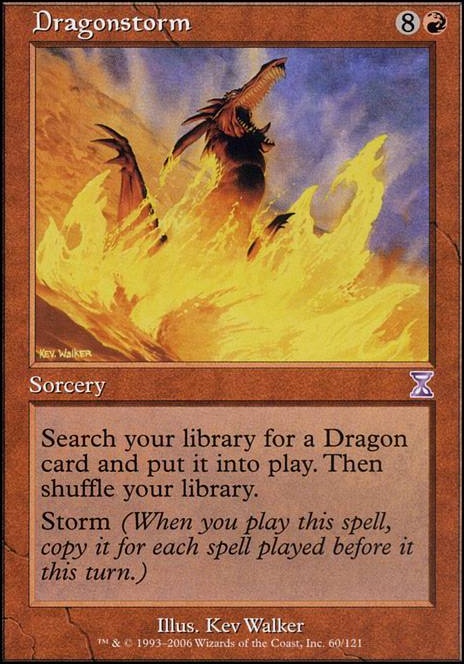
In the early game if we were able to race out quickly before the action really gets going resurrecting everything will work out just fine the majority of the time if we get delayed and have to go into the later turns of the game, then one sided recursion becomes more ideal but the cheapest one is Command the Dreadhorde but the life requirement is quite steep when grabbing the dragons we want, Eerie Ultimatum could work but its very invasive to cast. Still these provide the much needed extra count and give the option of excluding high threats that need to stay in the grave. Dragonstorm is also an option if opponents are looking to hate out graveyards, however this will generally require a degree of planning/ forward thinking. We don’t need to rack up 100 spells like you might need to traditionally use to make storm effective, 3 other spells will do plenty. The other option to avoid graveyard hate is Emergent Ultimatum, a seemingly underwhelming card truly brought to life in this deck, I would go with 1. Buried Alive 2. Rise of the Dark Realms 3. Dragonstorm, this way you have guaranteed yourself 3 dragons at least (explanation at the very bottom of the deck overview).

The support cards are also the most replaceable cards in the desk, These are the ones I felt matched with best with the deck but it will function fine without.
The element of the build that allows for such an aggressively low mana count are the mana ramp cards, ideally you would see 3 or more of these in an opening hand. Unfortunately that would take up about 42 card slots, which we can’t afford, the other two limitations are that we want to stick to the most aggressive costed rocks we can find which we will run out of, lastly we need to see mana before the ramp so there shouldn’t be more of them than actual mana, so we will settle for 2 successes in the opening hand like mana 28(This number includes Utopia Sprawl, Wild Growth and Nature's Lore but not the cards that make make things cheaper nor temporary mana).
Win spells, while it's not technically ideal to open a hand with expensive cards you hope to win with, it can offer reassurance that you have the win in hand right up front. There are only 9(This Number includes Bring to Light because it plays the card for free) cards in the deck that can be used for the BIGWIN, which is enough to give us a good chance of a single success on the 4th draw. This is a little on the late side because the deck has the speed to go off on turn three, so we supplement that number with tutors, 4 in this case bringing us to 13 cards, better odds of a success on turn 4 with the best odds being on the first draw of the game.
Now to an interesting paradox, we don’t want to see dragons in our hand at all, however we need them in the deck. If we do draw dragons we don’t want the whole strategy to be ruined. So it has to be as lean as possible but also redundant. I always left room for 11 dragons in the build which gives us "good odds of success” by the 2nd draw, with about 4 of them being important to the decks primary combo, which, if all odds always played out wouldn’t come up until past the 14th draw of the game. However this is unrealistic and I saw the need to have “back up” win dragons in-case one was drawn, as well as a few cards that could help get the dragons where I wanted them (ie: Survival of the Fittest) bring the count of combo dragons to 7, which gives the highest chance of “success” by draw 6. After that there is one more dragon to be used as a back up Voltron win if the primary one isn't viable.
The rest of the cards in the desk are various support cards to the main strategy, because there isn’t room left in the deck to get counts of these cards to ideal numbers. We just play the deck and tailor these cards as we see the need, the current support cards are for protecting combos or exploding mana into the pool to get a win card out. They number 18, silence effects, temporary mana, and discount effects make up the majority or that count.
This is a helpful chart to make it easier to find the ideal card count of effects in a deck created by Cmywilli(one of the best deck-smiths around) https://drive.google.com/file/d/1l9-yg-NWtzovRA_HilZ3mdGQxv0Mczlb/view?usp=sharing
Bonus: Also before I go I will finish the Emergent Ultimatum explanation, what I meant by that was that if you play Emergent and it is not countered and you choose the three cards suggested then this is what your opponent is left with. 1. Choose Rise of the Dark Realms, which gives you Dragonstorm and another spell, counting the Emergent cast, you then cast Buried Alive and "fail to find", that's two spells meaning three dragons when storm goes off 2. They get clever to this and choose Dragons storm, oops, well you cast buried alive this time finding three dragons dump in grave then get back with Rise, The opponent can not respond to the dragons being put in the graveyard as the spell is not finished resolving and no one has priority. Mix and match having dragons in the grave or casting other spells ahead of Emergent to make it a really hard spell to follow best options for with the table. Scourge is the only card that does not have a redundant effect in the dragon aggro combo so as long as they don’t get wise to that idea just play around with the opponents trying to figure out which way to die. xD
If you've made it this far, (even through the dry explanation of Emergant) then why not drop the deck a like!
Thank you~!!!
Suggestions
Updates Add
Comments
Attention! Complete Comment Tutorial! This annoying message will go away once you do!
Important! Formatting tips — Comment Tutorial — markdown syntax
Please login to comment
Casual
83% Competitive
| Date added | 9 years |
| Last updated | 1 year |
| Legality | This deck is Commander / EDH legal. |
| Rarity (main - side) | 45 - 0 Mythic Rares 26 - 2 Rares 11 - 1 Uncommons 17 - 0 Commons |
| Cards | 100 |
| Avg. CMC | 3.35 |
| Tokens | Copy Clone, Dragon 6/6 R, Pest 1/1 BG |
| Folders | Commander Tier 2 |
| Votes | |
| Ignored suggestions | |
| Shared with | |
| Views |