
A Better Anafenza, the Foremost
Commander / EDH BGW (Abzan, Junk) Combo Competitive Infinite Combo Reanimator Stax
Land (30)
- 1x Ancient Tomb
- 1x Arid Mesa
- 1x Bayou
- 1x Bloodstained Mire
- 1x Bountiful Promenade
- 1x Brushland
- 1x Caves of Koilos
- 1x City of Brass
- 1x Command Tower
-
1x
Dryad Arbor

- 1x Exotic Orchard
- 1x Flooded Strand
- 1x Forbidden Orchard
- 1x Gaea's Cradle
- 1x Gemstone Mine
- 1x Godless Shrine
- 1x Llanowar Wastes
- 1x Mana Confluence
- 1x Marsh Flats
- 1x Misty Rainforest
- 1x Overgrown Tomb
- 1x Polluted Delta
- 1x Savannah
- 1x Scrubland
- 1x Tarnished Citadel
- 1x Temple Garden
- 1x Urborg, Tomb of Yawgmoth
- 1x Verdant Catacombs
- 1x Windswept Heath
- 1x Wooded Foothills
Artifact (5)
Creature (27)
-
1x
Archon of Valor's Reach
-
1x
Avacyn's Pilgrim
-
1x
Aven Mindcensor
- 1x Bane of Progress
- 1x Birds of Paradise
- 1x Blood Artist
- 1x Collector Ouphe
- 1x Dark Confidant
- 1x Deathrite Shaman
-
1x
Eidolon of Rhetoric
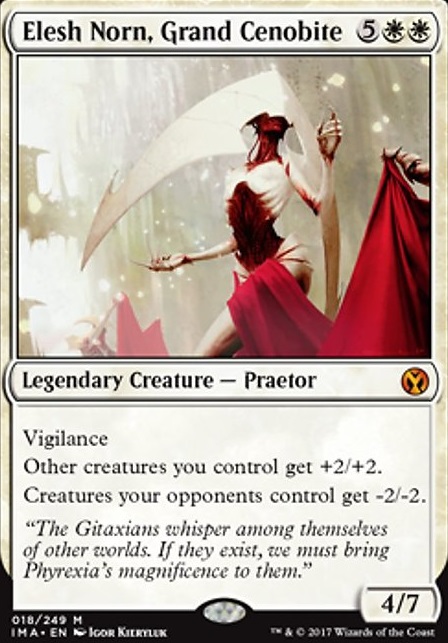
-
1x
Elesh Norn, Grand Cenobite
-
1x
Elves of Deep Shadow
-
1x
Elvish Mystic
-
1x
Eternal Witness
-
1x
Ethersworn Canonist
-
1x
Fauna Shaman
-
1x
Fyndhorn Elves
- 1x Grand Abolisher
- 1x Kataki, War's Wage
-
1x
Leonin Relic-Warder
- 1x Linvala, Keeper of Silence
- 1x Llanowar Elves
-
1x
Loyal Retainers
- 1x Ohran Frostfang
-
1x
Razaketh, the Foulblooded
- 1x Thalia, Guardian of Thraben
-
1x
Tymna the Weaver
Enchantment (10)
Commander (1)

Instant (15)
- 1x Abrupt Decay
- 1x Assassin's Trophy
- 1x Crop Rotation
- 1x Eladamri's Call
- 1x Enlightened Tutor
- 1x Entomb
- 1x Force of Vigor
- 1x Nature's Claim
- 1x Noxious Revival
- 1x Pull from Eternity
- 1x Silence
- 1x Vampiric Tutor
- 1x Veil of Summer
- 1x Worldly Tutor
Sorcery (12)
Sideboard
Artifact (2)
Instant (1)
Creature (1)
Updates Add
Comments
Attention! Complete Comment Tutorial! This annoying message will go away once you do!
Important! Formatting tips — Comment Tutorial — markdown syntax
Please login to comment
Casual
96% Competitive
| Top Ranked |
|
| Date added | 4 years |
| Last updated | 3 years |
| Legality | This deck is Commander / EDH legal. |
| Rarity (main - side) | 12 - 0 Mythic Rares 64 - 3 Rares 18 - 1 Uncommons 5 - 0 Commons |
| Cards | 100 |
| Avg. CMC | 2.17 |
| Tokens | Spirit 1/1 C |
| Folders | cEDH, Commander decks, cedh stuff |
| Votes | |
| Ignored suggestions | |
| Shared with | |
| Views |